The Timeless Art of Calligraphy: A Beginner's Guide to Your First Ink Strokes
Calligraphy is truly magical. In a world filled with quick digital text and bland fonts, creating beautiful letters by hand feels like a bold act. I remember the first time I watched a calligrapher work. I was captivated. The way the ink flowed from the nib and the elegant thick and thin lines formed perfect letters looked almost meditative. I thought, "I could never do that."
But I was wrong. Calligraphy isn't just for a select few. It’s a skill anyone can learn. It takes time and a willingness to accept the mistakes and ink blots that come with being a beginner, but the journey is very rewarding. If you've ever wanted to write a beautiful wedding invitation, create a personalized piece of art, or simply slow down and craft something by hand, this guide is for you.
Getting Started: Don't Be Intimidated by the Tools
Walking into an art store can feel overwhelming. There are countless pens, nibs, inks, and papers. It's easy to think you need the most expensive supplies to start. You don’t. Honestly, my first set was a simple and affordable starter kit, and it worked well for learning. Here are the absolute essentials:
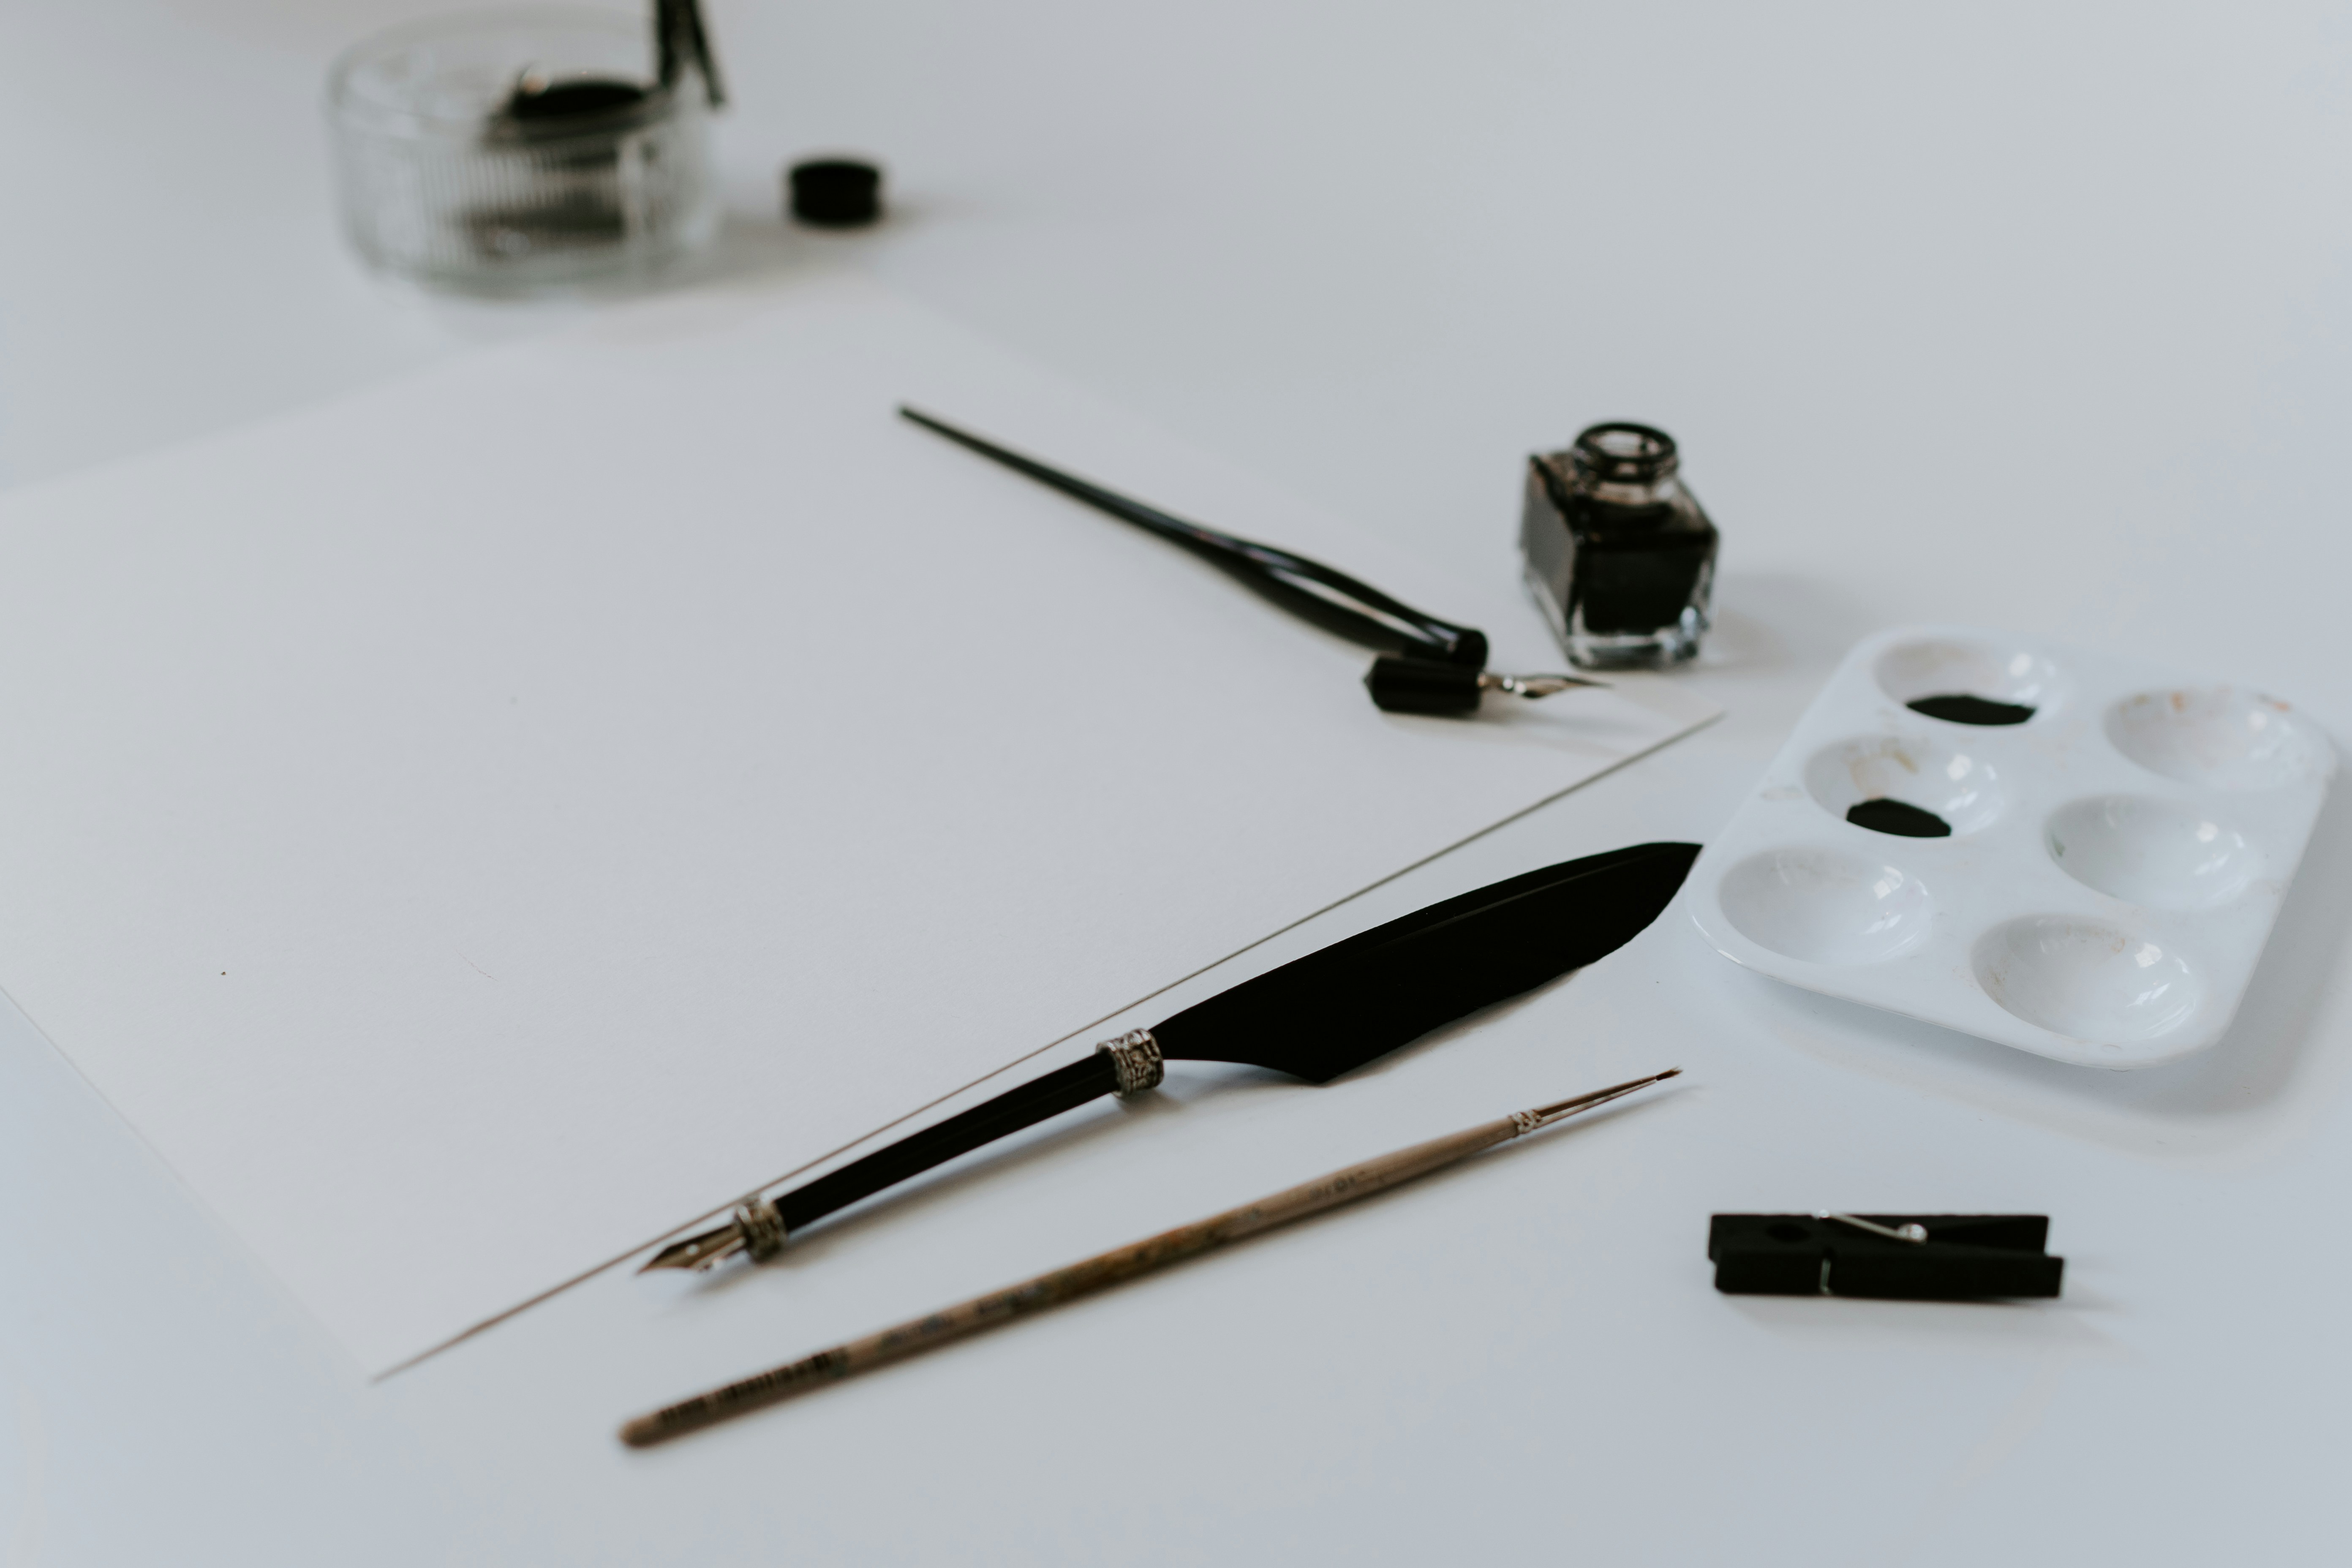
The Pen Holder: This is the handle for your nib. There are two main types: straight and oblique. A straight holder works fine for a right-handed beginner and is a bit easier to handle. The oblique holder may look odd with its flange, but it helps you achieve the right angle for certain scripts. Don’t worry about it at first; just get a comfortable straight holder.
The Nib: This is the core of your calligraphy pen. It’s the metal tip that holds and releases the ink. Nibs come in different shapes and sizes, but a good, flexible pointed nib is best for scripts like Copperplate or modern calligraphy. A Nikko G or Zebra G nib is a great option for beginners. They are sturdy and forgiving, able to handle the pressure you'll apply as you learn. I broke my first delicate nib in about five minutes because I pressed too hard. The "G" nibs can take a lot.
The Ink: You can’t just use any old ink from a fountain pen. You need calligraphy ink or India ink with the right thickness to flow from a dip pen. Sumi ink is a popular choice for beginners. It’s dark, flows smoothly, and is relatively inexpensive. My advice? Stick to black ink when you start. It allows you to focus on your letterforms without the distraction of color.
The Paper: This is more important than you might think. Regular printer paper causes the ink to bleed and feather, which can be very frustrating. You need smooth, high-quality paper that allows the nib to glide. A Rhodia dot pad is a favorite in the calligraphy community for practice. The paper is silky smooth, and the dots help you keep your letters consistent without being as limiting as solid lines.
The Foundational Secret: It's All About the Strokes
Here’s the biggest mistake I made as a beginner: I tried to write words right away. I grabbed my pen and attempted to write my name in fancy script. It looked terrible. I got frustrated and almost quit.
Calligraphy isn't about writing; it’s about drawing. Each letter consists of basic strokes. Before writing an "a" or a "b," you need to practice these fundamental shapes. The key concept is pressure.
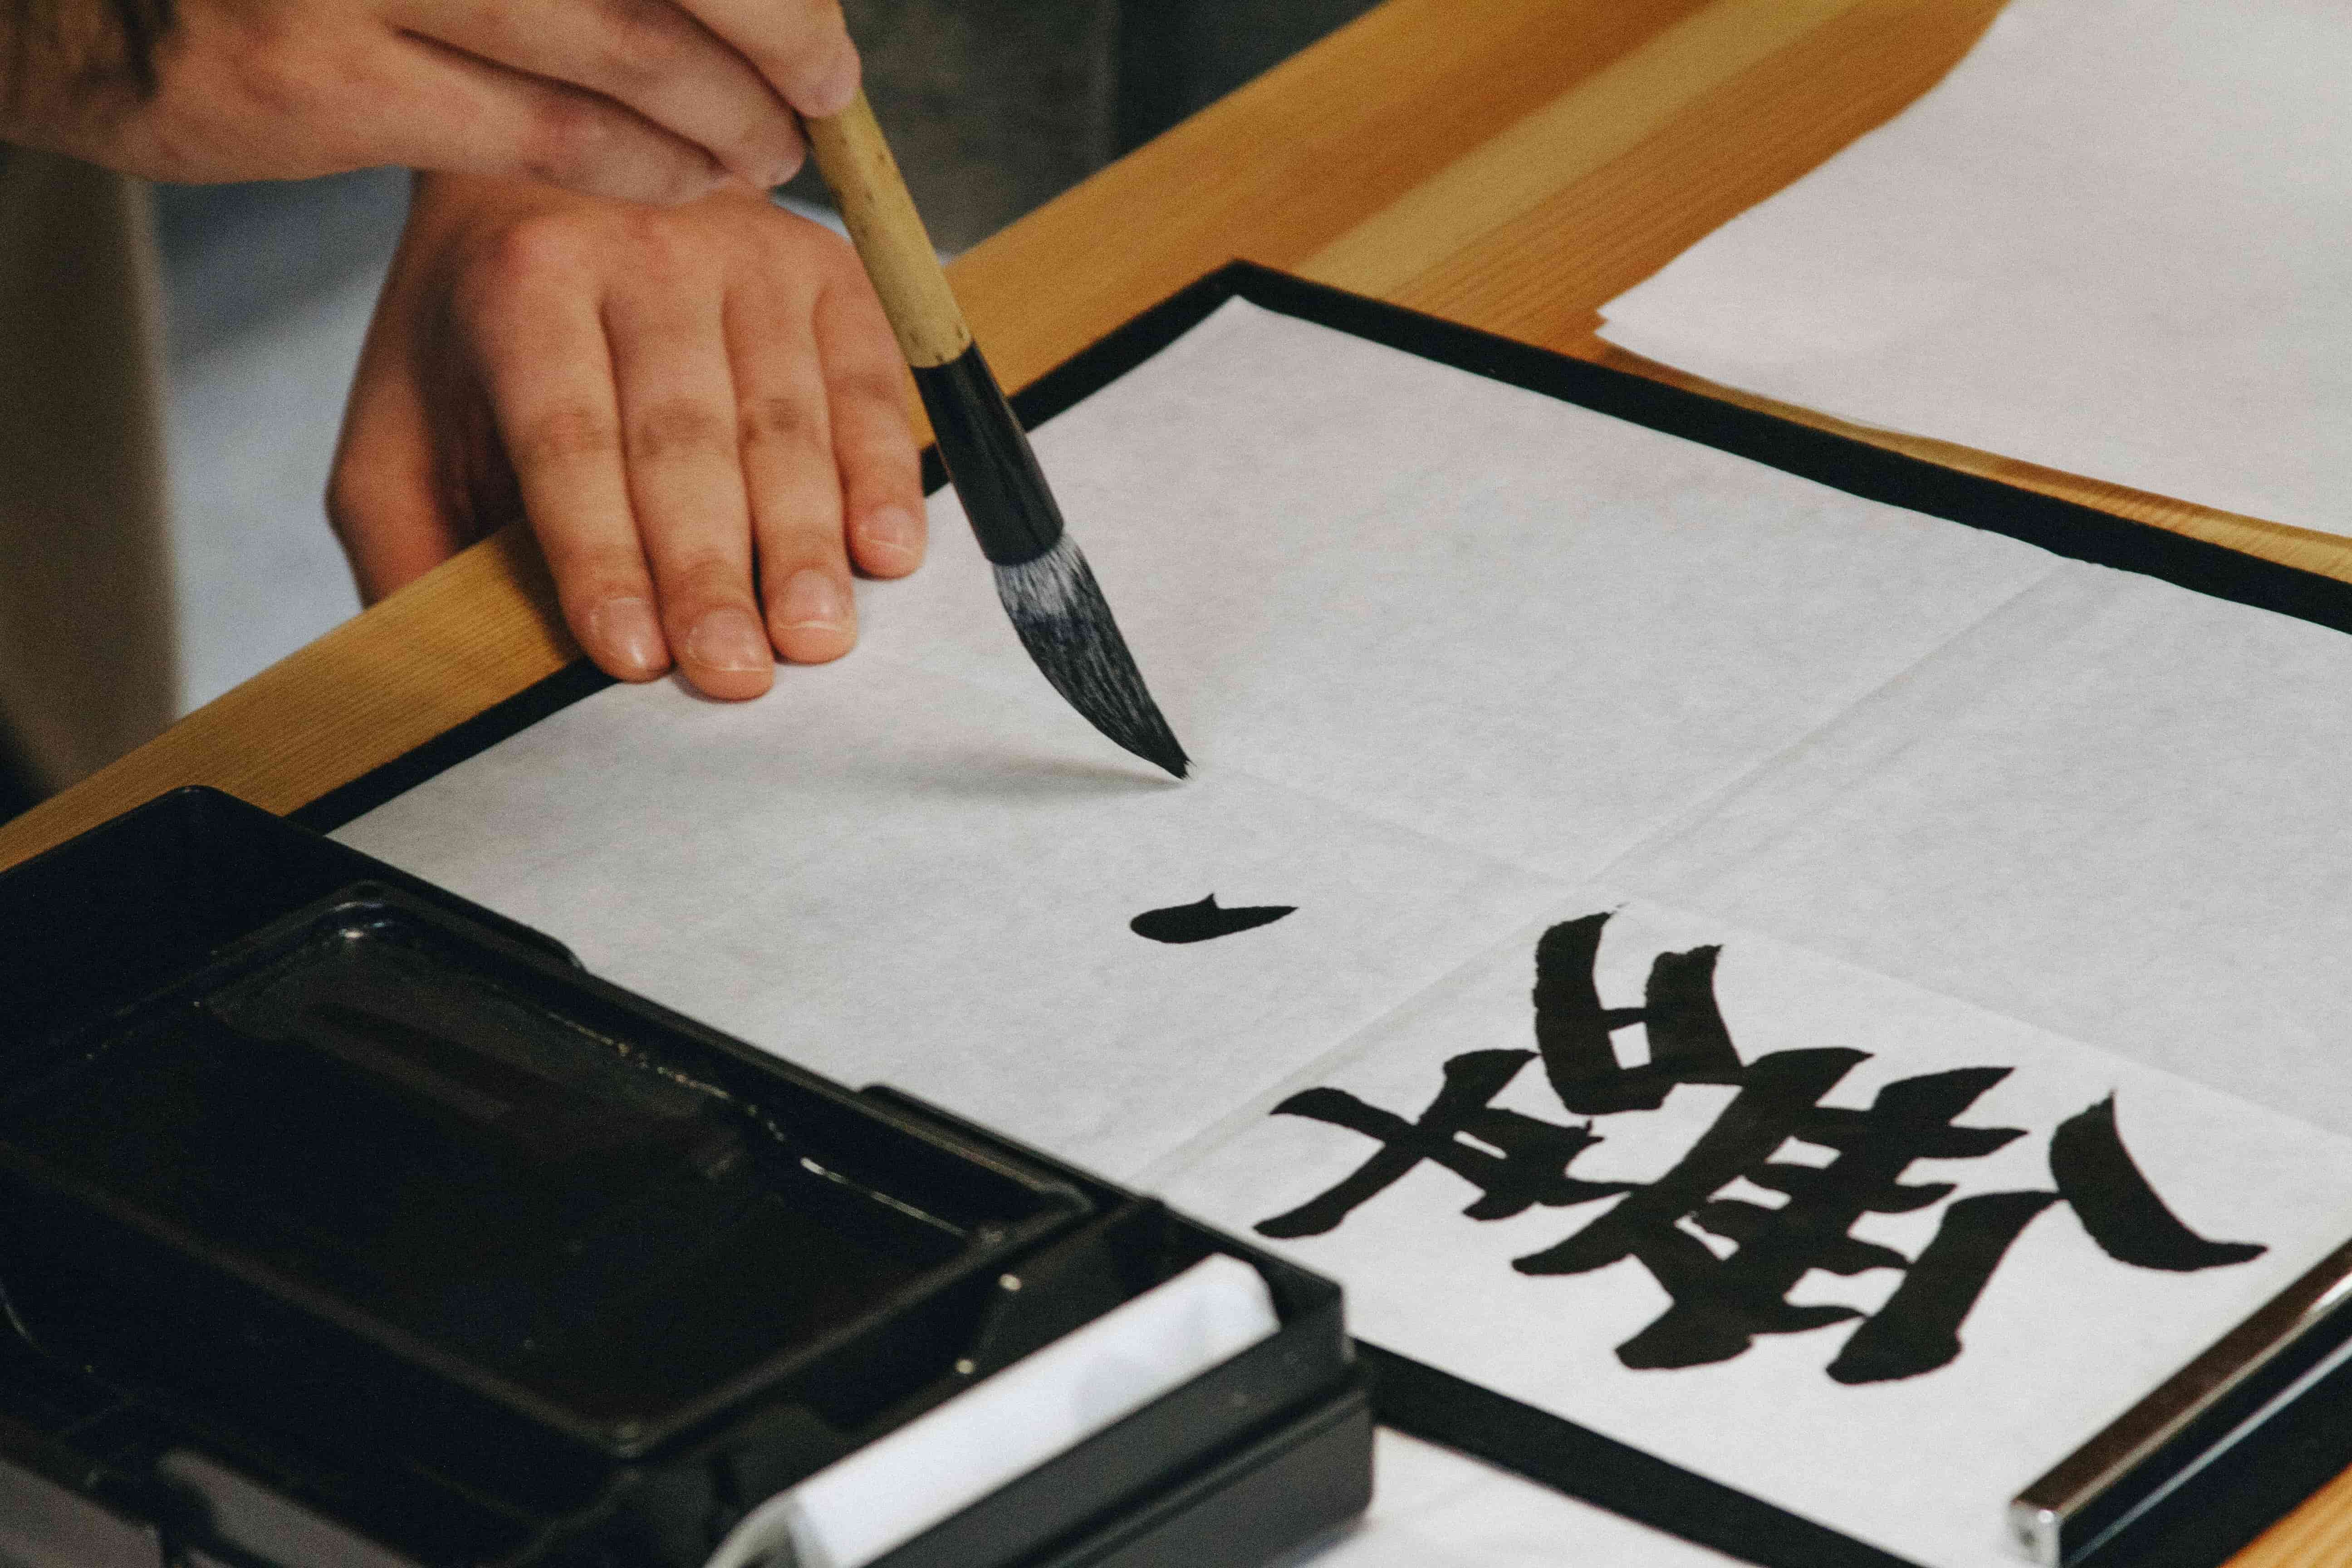
Downstrokes are thick. When your pen moves down the page, apply gentle pressure. This causes the tines of the nib to separate slightly, allowing more ink to flow and creating a thick line.
Upstrokes are thin. When your pen moves up the page, apply almost no pressure at all, letting the tip of the nib touch the paper. This creates a delicate, hairline-thin line.
Spend your first practice sessions just making lines. Fill entire pages with downstrokes and upstrokes. Then, move to the other basic shapes: the overturn (like an "n"), the underturn (like a "u"), the compound curve (a thin upstroke flowing into a thick downstroke and back up), and the oval. It may feel tedious, but practicing these strokes builds muscle memory. It’s like a pianist practicing scales. This is where real learning happens.
Embrace the Journey and Be Patient
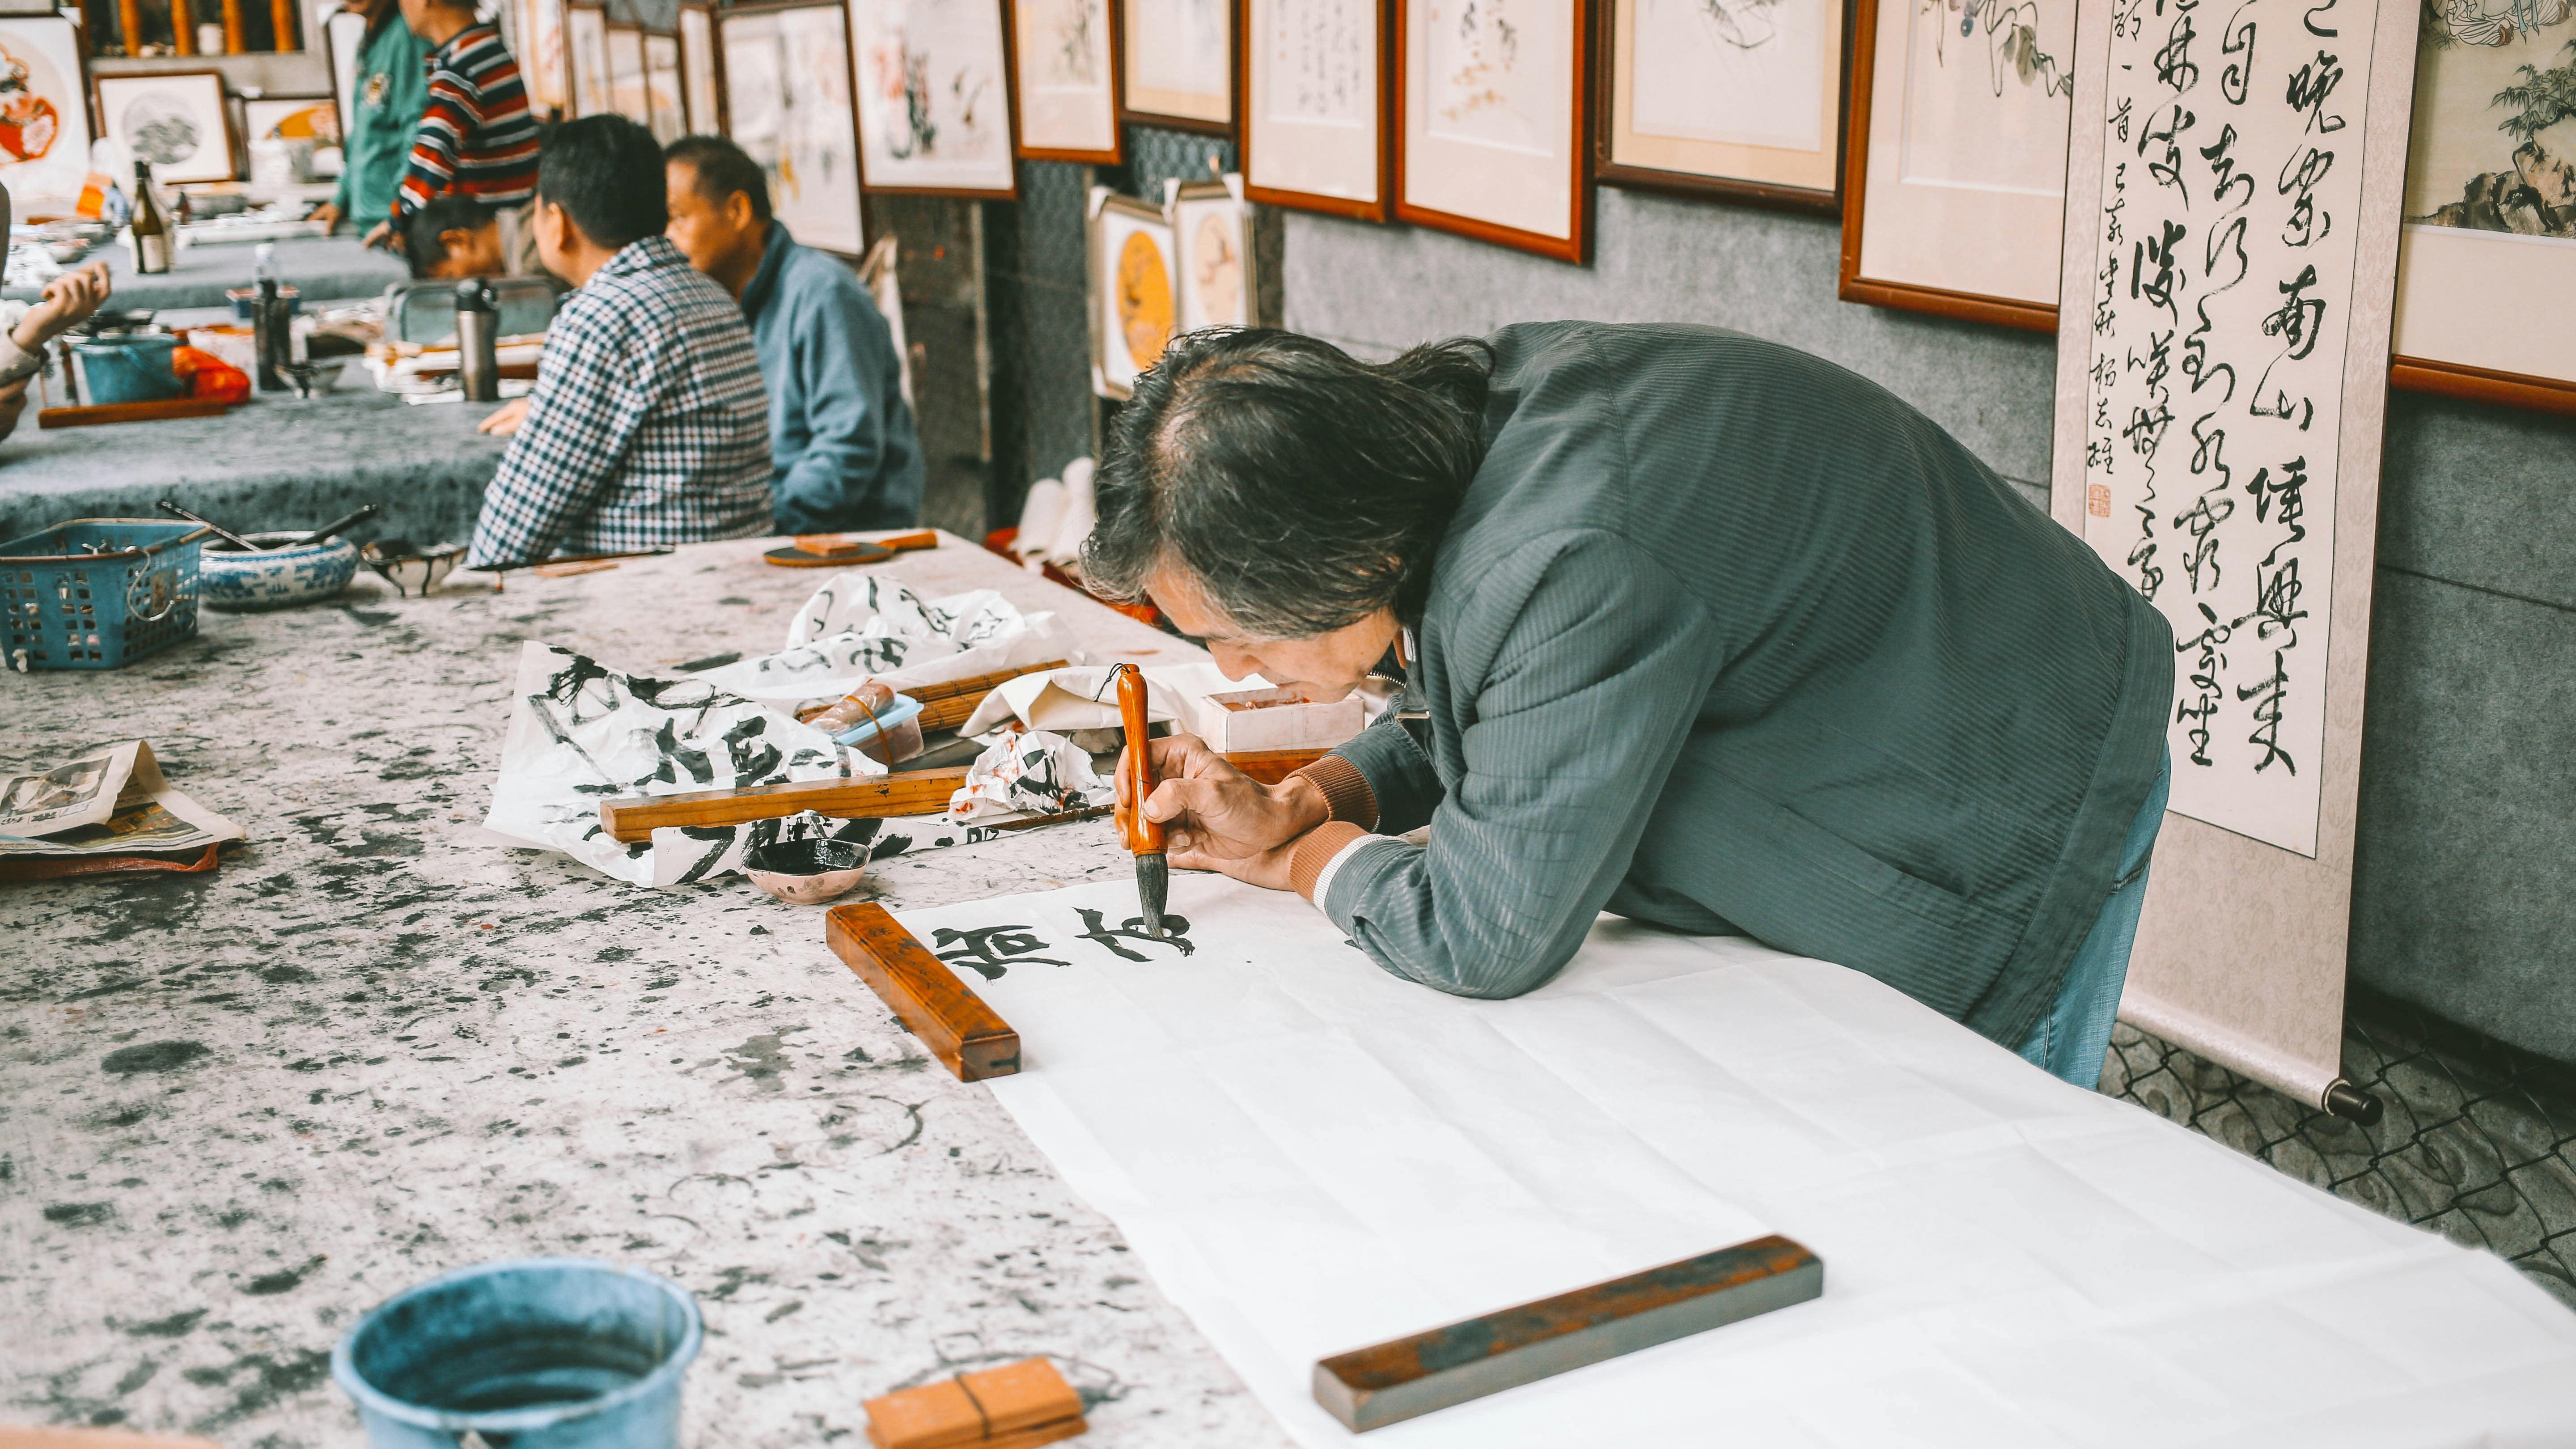
Your first attempts will not be perfect. Your lines will be shaky, your ink will smudge, and your letters will be inconsistent. This is normal. Every calligrapher started this way. The key is to be patient with yourself and enjoy the process.
Put on some music, make a cup of tea, and focus on the sensation of the nib on the paper. Notice how the ink pools and dries. Calligraphy is a slow art. It encourages you to unplug and concentrate on one mindful task. Some days, your practice will feel wonderful, while other days, it may seem like you’ve forgotten everything. Keep going.
Conclusion: Your Story in Ink
Learning calligraphy is about more than just pretty handwriting. It’s about connecting with a timeless tradition, building discipline, and finding a quiet space for creativity in a noisy world. It's about the satisfaction of looking at a page and knowing you created that beautiful work line by line, stroke by stroke.
So, gather a few simple tools, grab some paper, and make your first mark. Don't worry about being perfect. Just focus on that first downstroke, that first hairline upstroke, and start your own story written in ink.
← Back to Home